
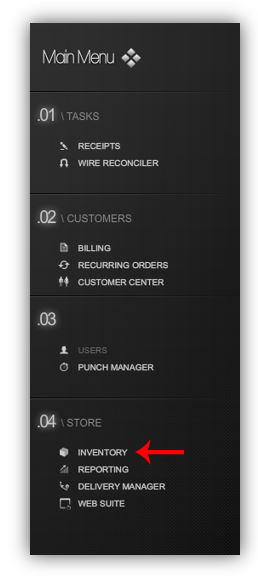
- From the BackOffice / IRIS Administrator, click INVENTORY on the LEFT side of the screen, under STORE.
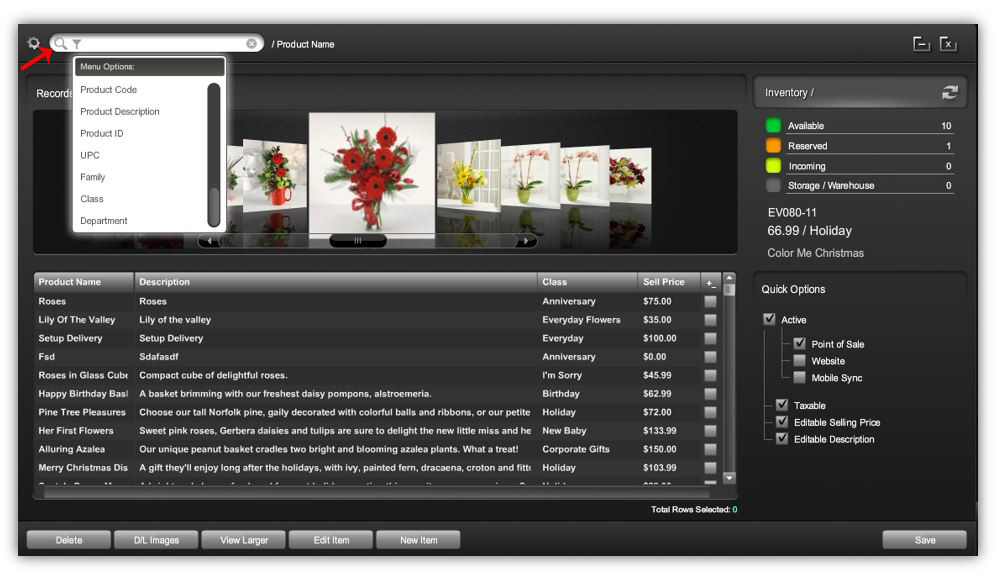
- Search for the product you would like to edit. You can search for a specific product by typing in the product name, code, description, ID, UPC, family, class or department and adjusting the filter
 .
. - Once you have entered the desired search criteria into the search field with its respective filter, click ENTER to populate results.
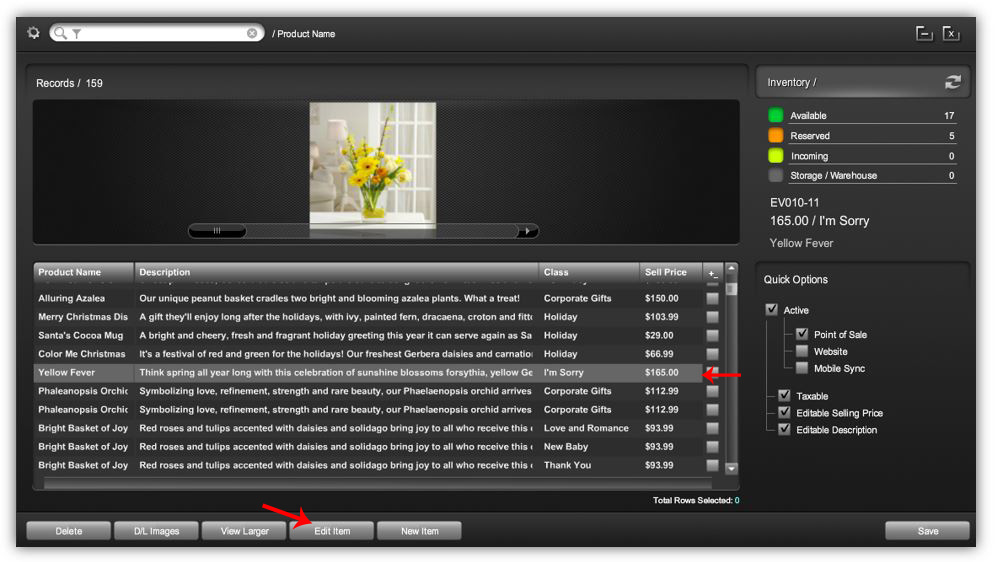
- After locating and selecting the product you would like to edit, click on the EDIT ITEM button.
- After clicking the EDIT ITEM button, the edit product window will open up to the PRODUCT INFO tab. Here you can make the necessary edits to the product: change the product name, product code, description, size, pricing, family, department, color, product discount, product markup.

- To edit the product options, click on the OPTIONS tab. Here you can make edits to the UPC code, bar code and class.

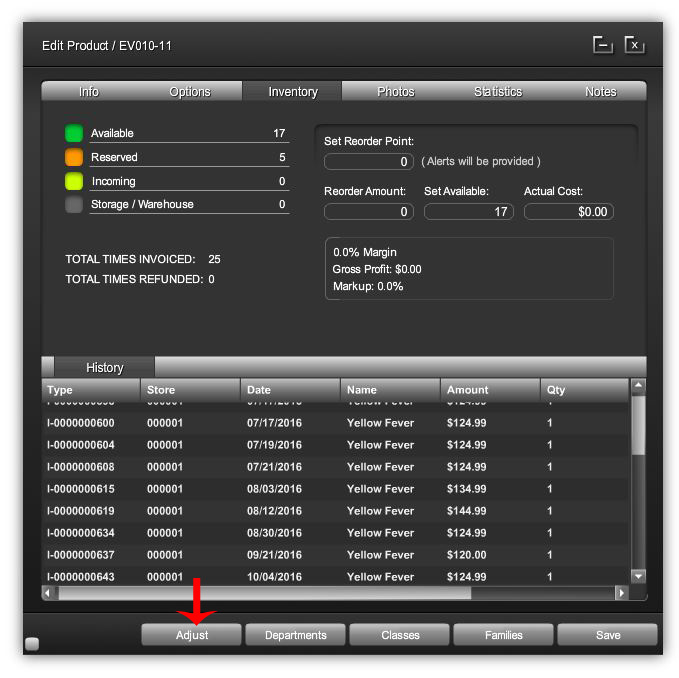
- To edit the product inventory, click on the INVENTORY tab. Here you can set the reorder point, reorder amount, number of inventory currently available, the actually cost as well as view the purchase history of the product.

- You can also quickly adjust the product inventory by clicking on the ADJUST button on the bottom of the screen. Here you can ADD or REPLACE an quantity to the current inventory.

- To edit the product's photos, click on the PHOTOS tab, here you can add up to 5 images. NOTE: The center image is the only image that will display in the image glider.

- To edit the products notes, instructions and specifications, click on the NOTES tab.

- When all edits are compete, click the SAVE button in the bottom RIGHT corner.

Comments
0 comments
Please sign in to leave a comment.