
Cash Receipts
All money received displayed in journal format. (Credits/Debits)
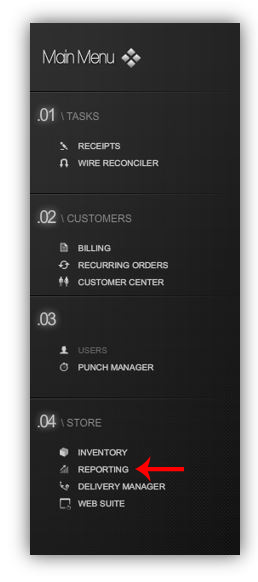
- To run a CASH RECEIPTS report, first locate the REPORT MANAGER in the BackOffice.
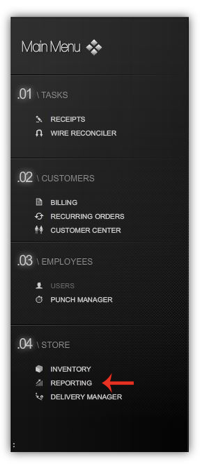
- Select the REPORTING button from the STORE section of the MAIN MENU on the left side of the screen.
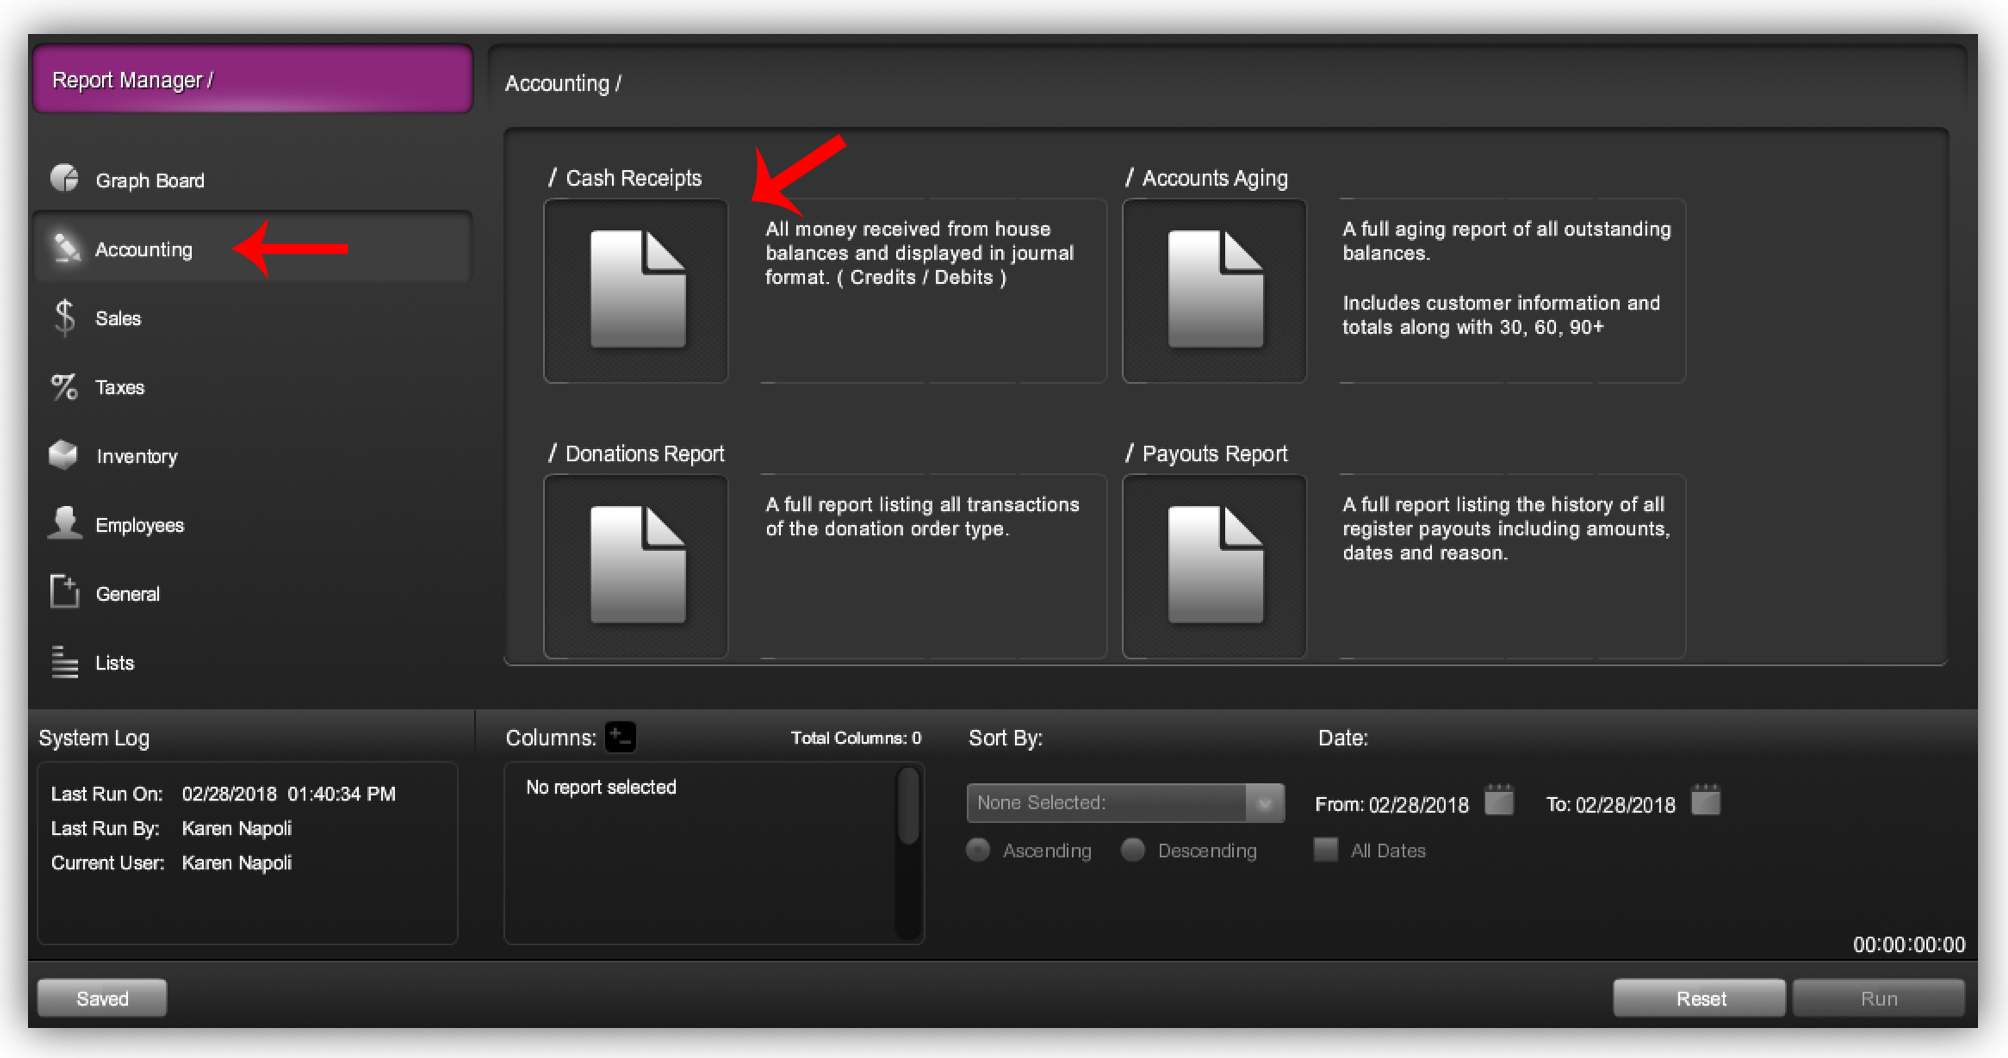
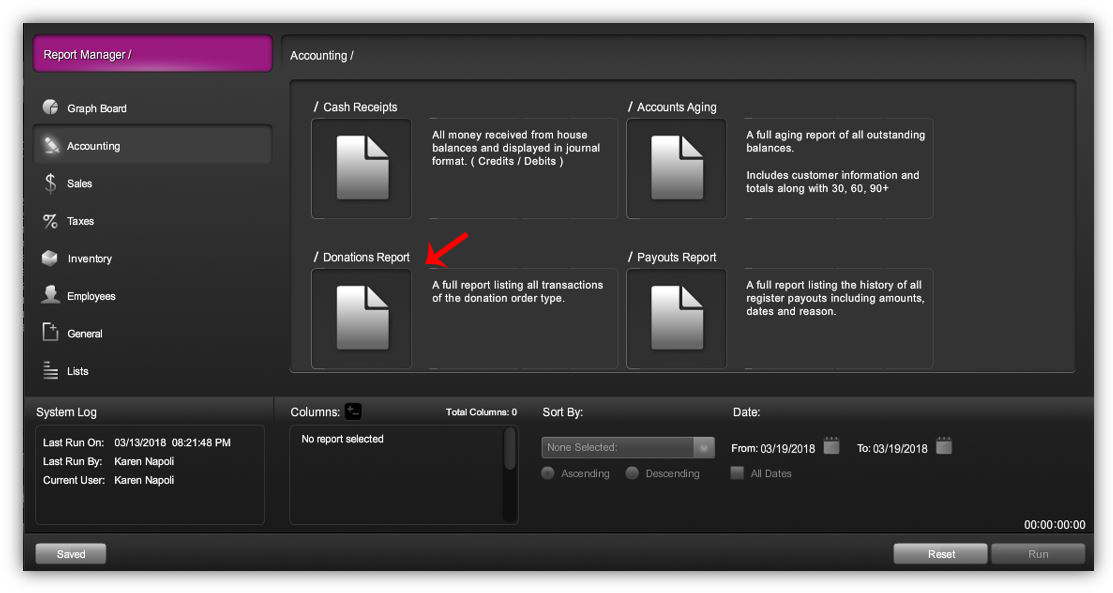
- Once in the REPORTS MANAGER, select the ACCOUNTING tab on the left side of the screen.
- From the accounting reports list, choose the CASH RECEIPTS report.
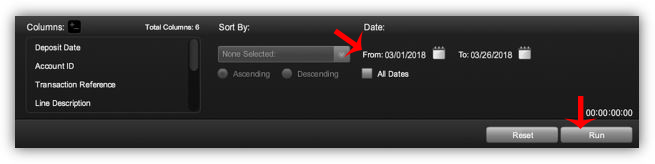
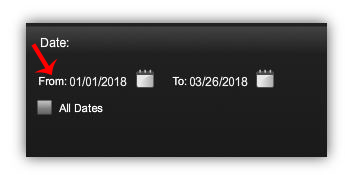
- After selecting the cash receipts report, choose your desired date range. (With a cash receipts report, you do not have the option to select specific columns or sort by order as you do with other reports.)
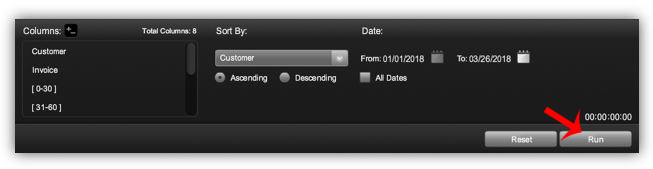
- Once desired date range has been selected, click RUN.
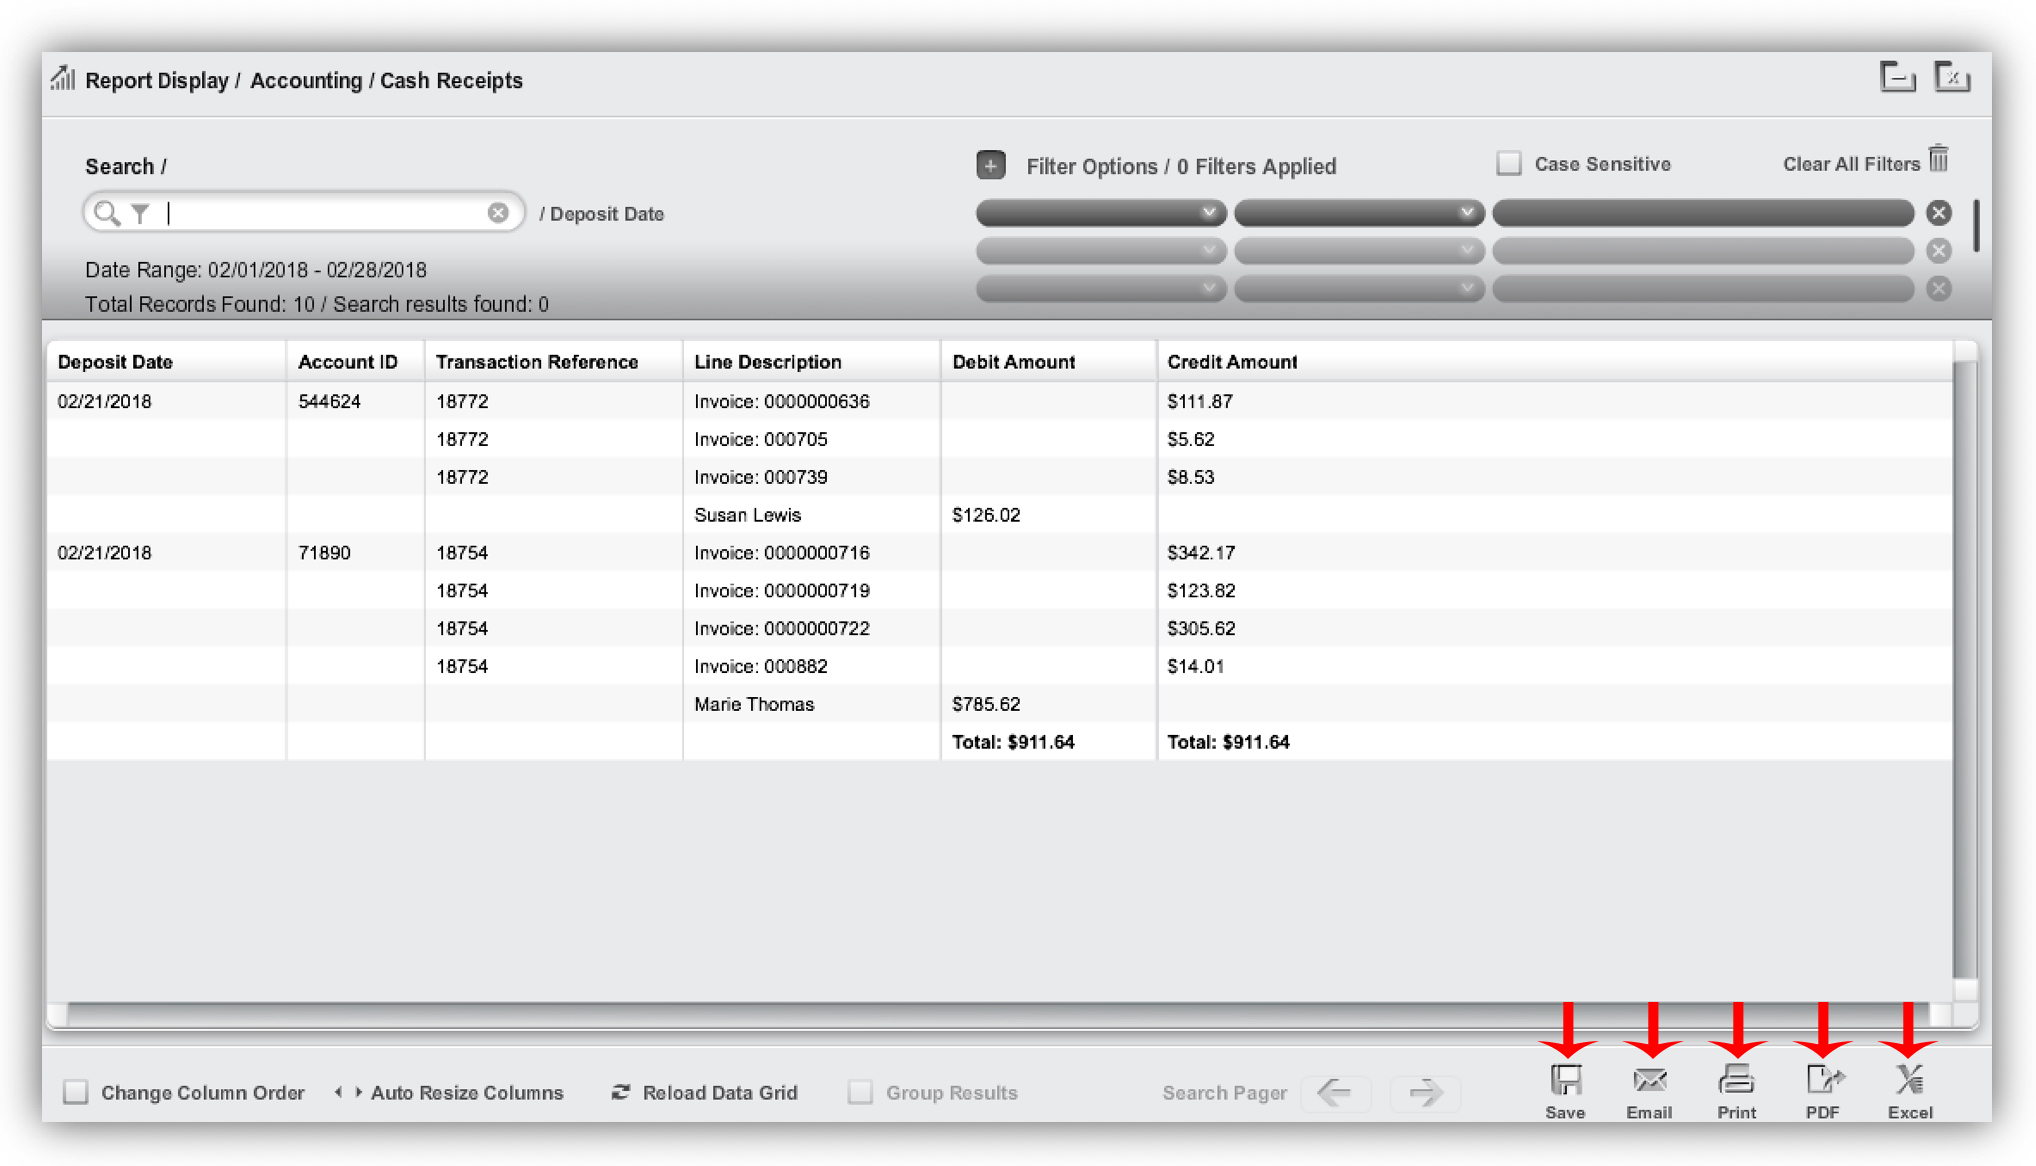
- A Cash Receipts Report will generate.
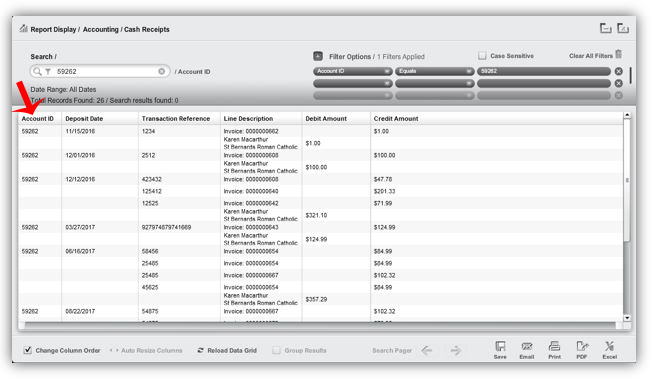
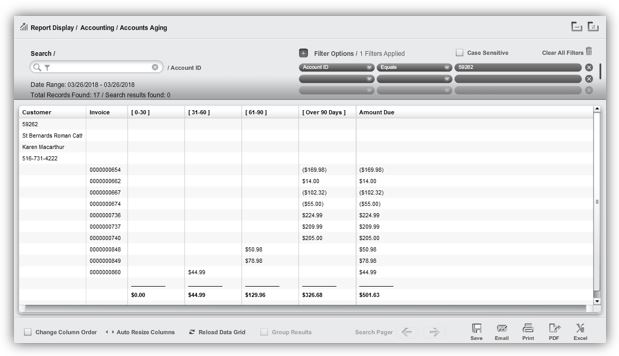
- If you are looking to find a specific characteristic within the report, SEARCH the report by the Deposit Date, Account ID, Transaction Reference, Line Description, Debit Amount or Credit Amount. To change the search by characteristic, click the filter icon in the search bar and select the desired search characteristic from the drop-down menu.
- When using the search bar, the desired characteristic will appear in red within the report.
For example, if you are looking to quickly find the last time a specific customer paid on their account balance, you would search the account ID. After you have searched the Account ID, you will be able to easily differentiate the transactions associated with that Account ID alongside the other customer's transactions.

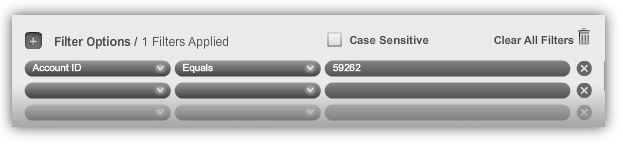
- If you are looking to FILTER the report so that it shows ONLY the transactions associated with the specific filters applied you will use the filter fields in the right corner of the report.
- To filter the report, begin by clicking in the FILTER BY field. From the drop down, select the specific filter characteristic.
- Next, click on the COMPARISON field. From the drop down select the comparison operation you would like applied.
- Lastly, enter your filter criteria in the last field.
- Once you have entered the filter options, the Cash Receipts Report will now only show transactions associated with the filter criteria.
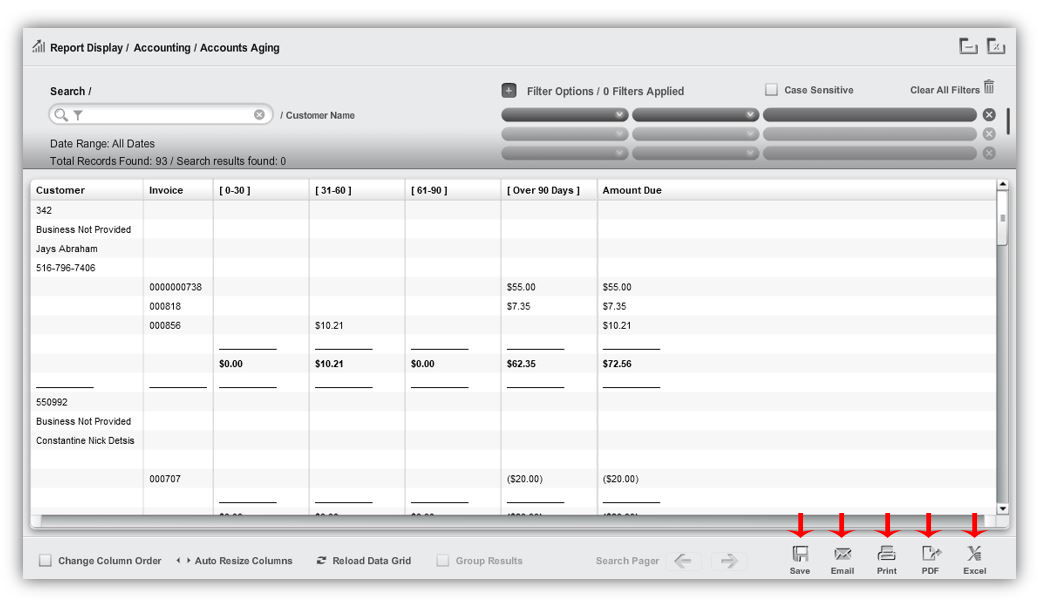
- If you wish to export the Cash Receipts Report, select the desired export method.
- To save the report, click the SAVE icon.
- To email the report, click the EMAIL icon.
- To print the report, click the PRINT icon.
- To export the report to a PDF, click the PDF icon.
- To export the report to an EXCEL document, click the EXCEL icon.
Aging
A full aging report of all outstanding balances. Includes customer information, totals and displays 30, 60, 90, and over periods
- To run a ACCOUNTS AGING report, first locate the REPORT MANAGER in the BackOffice.
- Select the REPORTING button from the STORE section of the MAIN MENU on the left side of the screen.

- Once in the REPORTS MANAGER, select the ACCOUNTING tab on the left side of the screen.
- From the accounting reports list, choose the ACCOUNTS AGING report.

- After selecting the accounts aging report, select how you would like the report sorted as well as the date range. (With an accounts aging report, you do not have the option to select specific columns or sort by order as you do with other reports.)
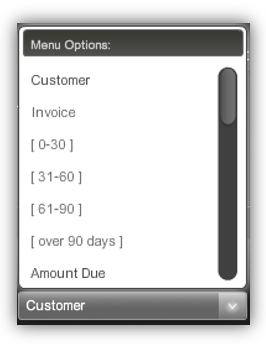
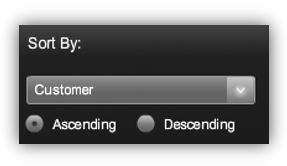
- You can choose to have the report sorted by the Customer, Invoice, 0-30, 31-60, 61-90, over 90 days, Amount Due or the Account ID. If you have no preference, the report will be sorted by default.
- You are also able to choose if you would like your report sorted ascending or descending order. If you have no preference, the report will be sorted ascending by default.
- After you have set your sort by preferences, if any, select the desired date range to be included in the report.
- Once you have entered all desired criteria, click RUN.
- An Accounts Aging Report will generate.
- If you are looking to FILTER the report so that it shows ONLY the transactions associated with the specific filters applied you will use the filter fields in the right corner of the report.
- To filter the report, begin by clicking in the FILTER BY field. From the drop down, select the specific filter characteristic.
- Next, click on the COMPARISON field. From the drop down select the comparison operation you would like applied.
- Lastly, enter your filter criteria in the last field.
- Once you have entered the filter options, the Cash Receipts Report will now only show transactions associated with the filter criteria.
- If you wish to export the Aging Report, select the desired export method.
- To save the report, click the SAVE icon.
- To email the report, click the EMAIL icon.
- To print the report, click the PRINT icon.
- To export the report to a PDF, click the PDF icon.
- To export the report to an EXCEL document, click the EXCEL icon.
Donations Report
This report shows a full report listing all transactions of the donation order type.
- To run a DONATIONS report, first locate the REPORT MANAGER in the BackOffice.
- Select the REPORTING button from the STORE section of the MAIN MENU on the left side of the screen.
- Once in the REPORTS MANAGER, select the ACCOUNTING tab on the left side of the screen.
- From the list, choose the DONATIONS report.
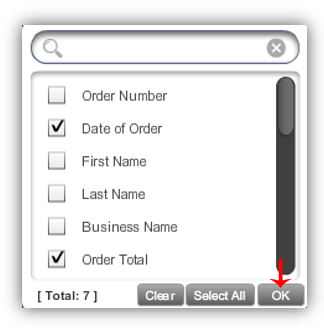
- After selecting the donations report, select the column icon
 check the desired attributes you would like included in the list: Date of Order and Order Total are pre-selected. You can choose to add additional attributes from the list.
 - When all desired columns have been selected, click OK.
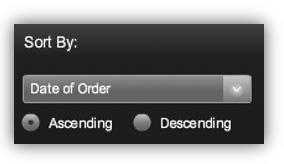
- Once the desired columns have been selected, next select how you would like the report sorted. You can choose to have the report sorted by the Date of Order, Order Total or any additional attribute. If you have no preference, the report will be sorted by default.
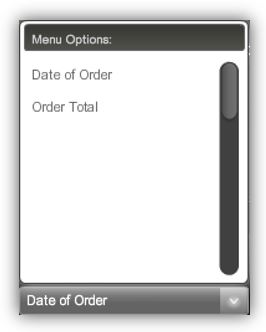
- You are also able to choose if you would like your report sorted ascending or descending order. If you have no preference, the report will be sorted ascending by default.
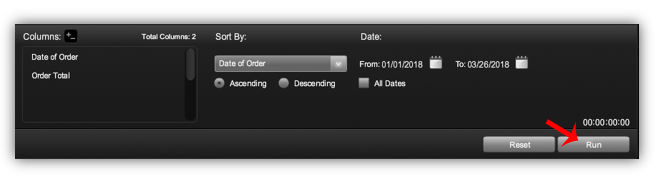
- After you have set your sort by preferences, if any, select the desired date range to be included in the report.
- Once you have entered all desired criteria, click RUN.
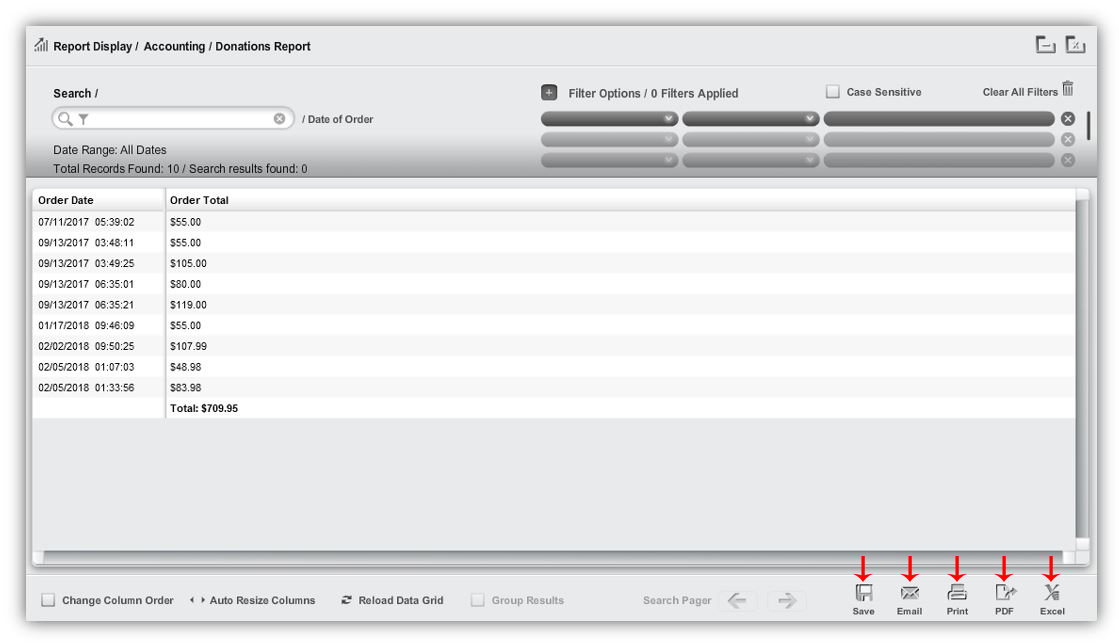
- A Donations Report will generate.
- To save the report, click the SAVE icon.
- To email the report, click the EMAIL icon.
- To print the report, click the PRINT icon.
- To export the report to a PDF, click the PDF icon.
- To export the report to an EXCEL document, click the EXCEL icon.
Payouts Report
This report shows a full report listing the history of all register payouts including amounts, dates and reason.
- To run a PAYOUTS report, first locate the REPORT MANAGER in the BackOffice.
- Select the REPORTING button from the STORE section of the MAIN MENU on the left side of the screen.
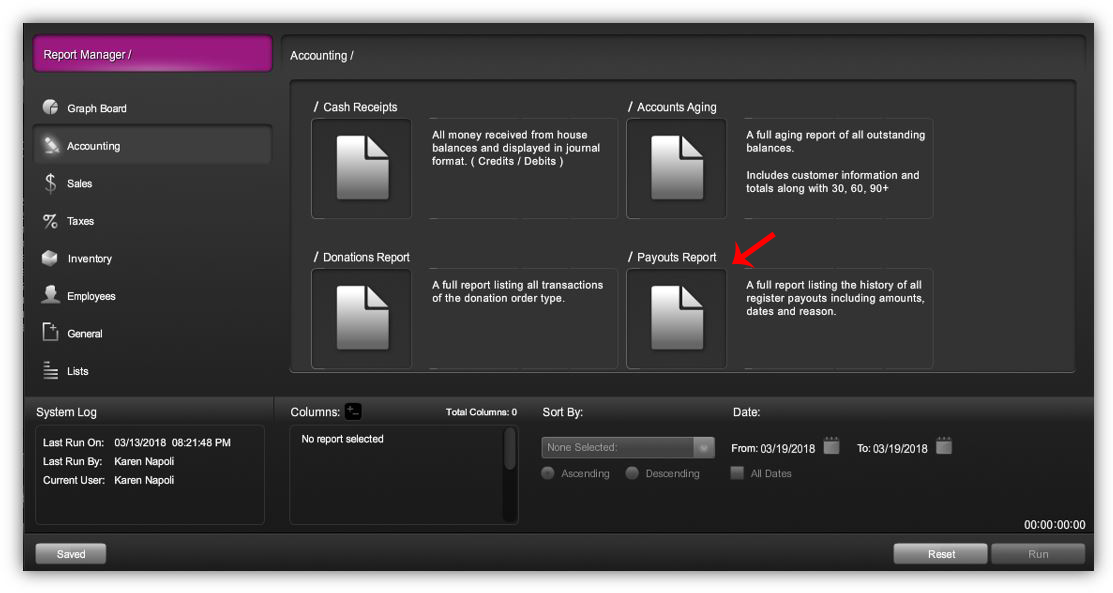
- Once in the REPORTS MANAGER, select the ACCOUNTING tab on the left side of the screen.
- From the list, choose the PAYOUTS report.
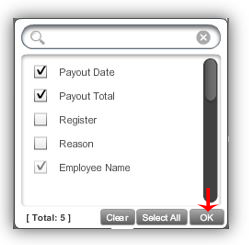
- After selecting the payouts report, select the column icon check the desired attributes you would like included in the list: Payout Date, Payout Total and Employee Name are pre-selected. You can choose to add additional attributes from the list.
- When all desired columns have been selected, click OK.
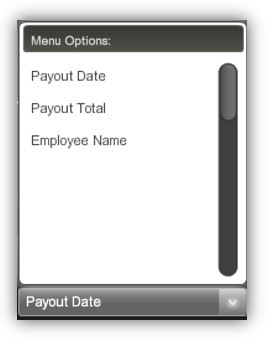
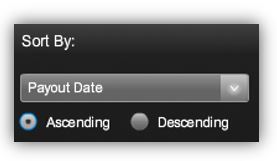
- Once the desired columns have been selected, next select how you would like the report sorted. You can choose to have the report sorted by the Payout Date, Payout Total, Employee Name or any additional attribute. If you have no preference, the report will be sorted by default.
- You are also able to choose if you would like your report sorted ascending or descending order. If you have no preference, the report will be sorted ascending by default.
- After you have set your sort by preferences, if any, select the desired date range to be included in the report. If using all dates, check the ALL DATES box.
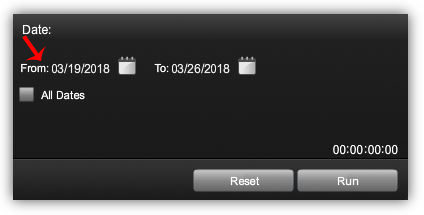
- Once you have entered all desired criteria, click RUN.

- A Payouts Report will generate.
- To save the report, click the SAVE icon.
- To email the report, click the EMAIL icon.
- To print the report, click the PRINT icon.
- To export the report to a PDF, click the PDF icon.
- To export the report to an EXCEL document, click the EXCEL icon.

Comments
0 comments
Please sign in to leave a comment.